What does image resizing and optimisation mean, and is it still important in 2022/2023? Image optimisation is just as important for your blog/website now as it has ever been, especially if you use a lot of images within your content. Simply put, image optimisation is reducing the file size of your image WITHOUT impacting the image quality. This in turn helps to speed up your page load time (the time it takes for your website/blog to fully load after a user has clicked a link from a browser), the last thing you want is a potential customer/client waiting an age for your page to show, especailly nowadays where our average time before we lose interest is now measured in seconds! With more and more people accessing the internet from small tablets and phones, using large un-optimised images on your website just makes this a horrible, messy experience for someone trying to access with a phone, not to mention using up most of their bandwidth in the process. Image optimisation is also very important for your website/blog's SEO (search engine optimisation), Google and other search engines hate a slow loading site, and you will be punished for it, with similar website/blog's with faster page load times being ranked (listed higher up the page rankings) before you!Here's what Google says... Images are often the largest contributor to overall page size, which can make pages slow and expensive to load. Make sure to apply the latest image optimization and responsive image techniques to provide a high quality and fast user experience.
You could of course just stop using images, but again in this day and age no-one wants to stare at a massive block of text, images really help to hold the viewer's interest, and, they really do break up the text and make your blog more pleasing to the eye, So, what exactly is image optimisation and how do you do it?
Let's take an image straight from your camera (or even smart phone), changes are this image is going to be very large, having a size of Mb's - from an iphone 11, image size is roughly around 2Mb's - 4Mb's, from a DSLR camera, size is roughly around 3Mb's - 8Mb's. Now what size of image is a decent workaround for page load speed and image quality? I would say around 200 - 500kb (1000kb = 1Mb), people used to say no more than 150 - 200kb, but with today's broadband speeds, we are able to push this limit up, even 1Mb could be acceptable providing you don't have too many images at this size on the same page.
So how do we get our images to the desired size for optimum page load speed BUT without losing image quality?
Well, sometimes simply reducing the image size will have the desired effect, and this can be done very quickly even in 'Paint' which ships with Windows (or PaintBrush with Mac). Take a look at the two images below, one is straight out of the camera (size in pixels = 6000 X 4000 and 11Mb in size), the other is the same image but resized in 'Paint' to a more managable size for your blog (size in pixels 1200 X 800 and 400Kb in size, more on size later)...
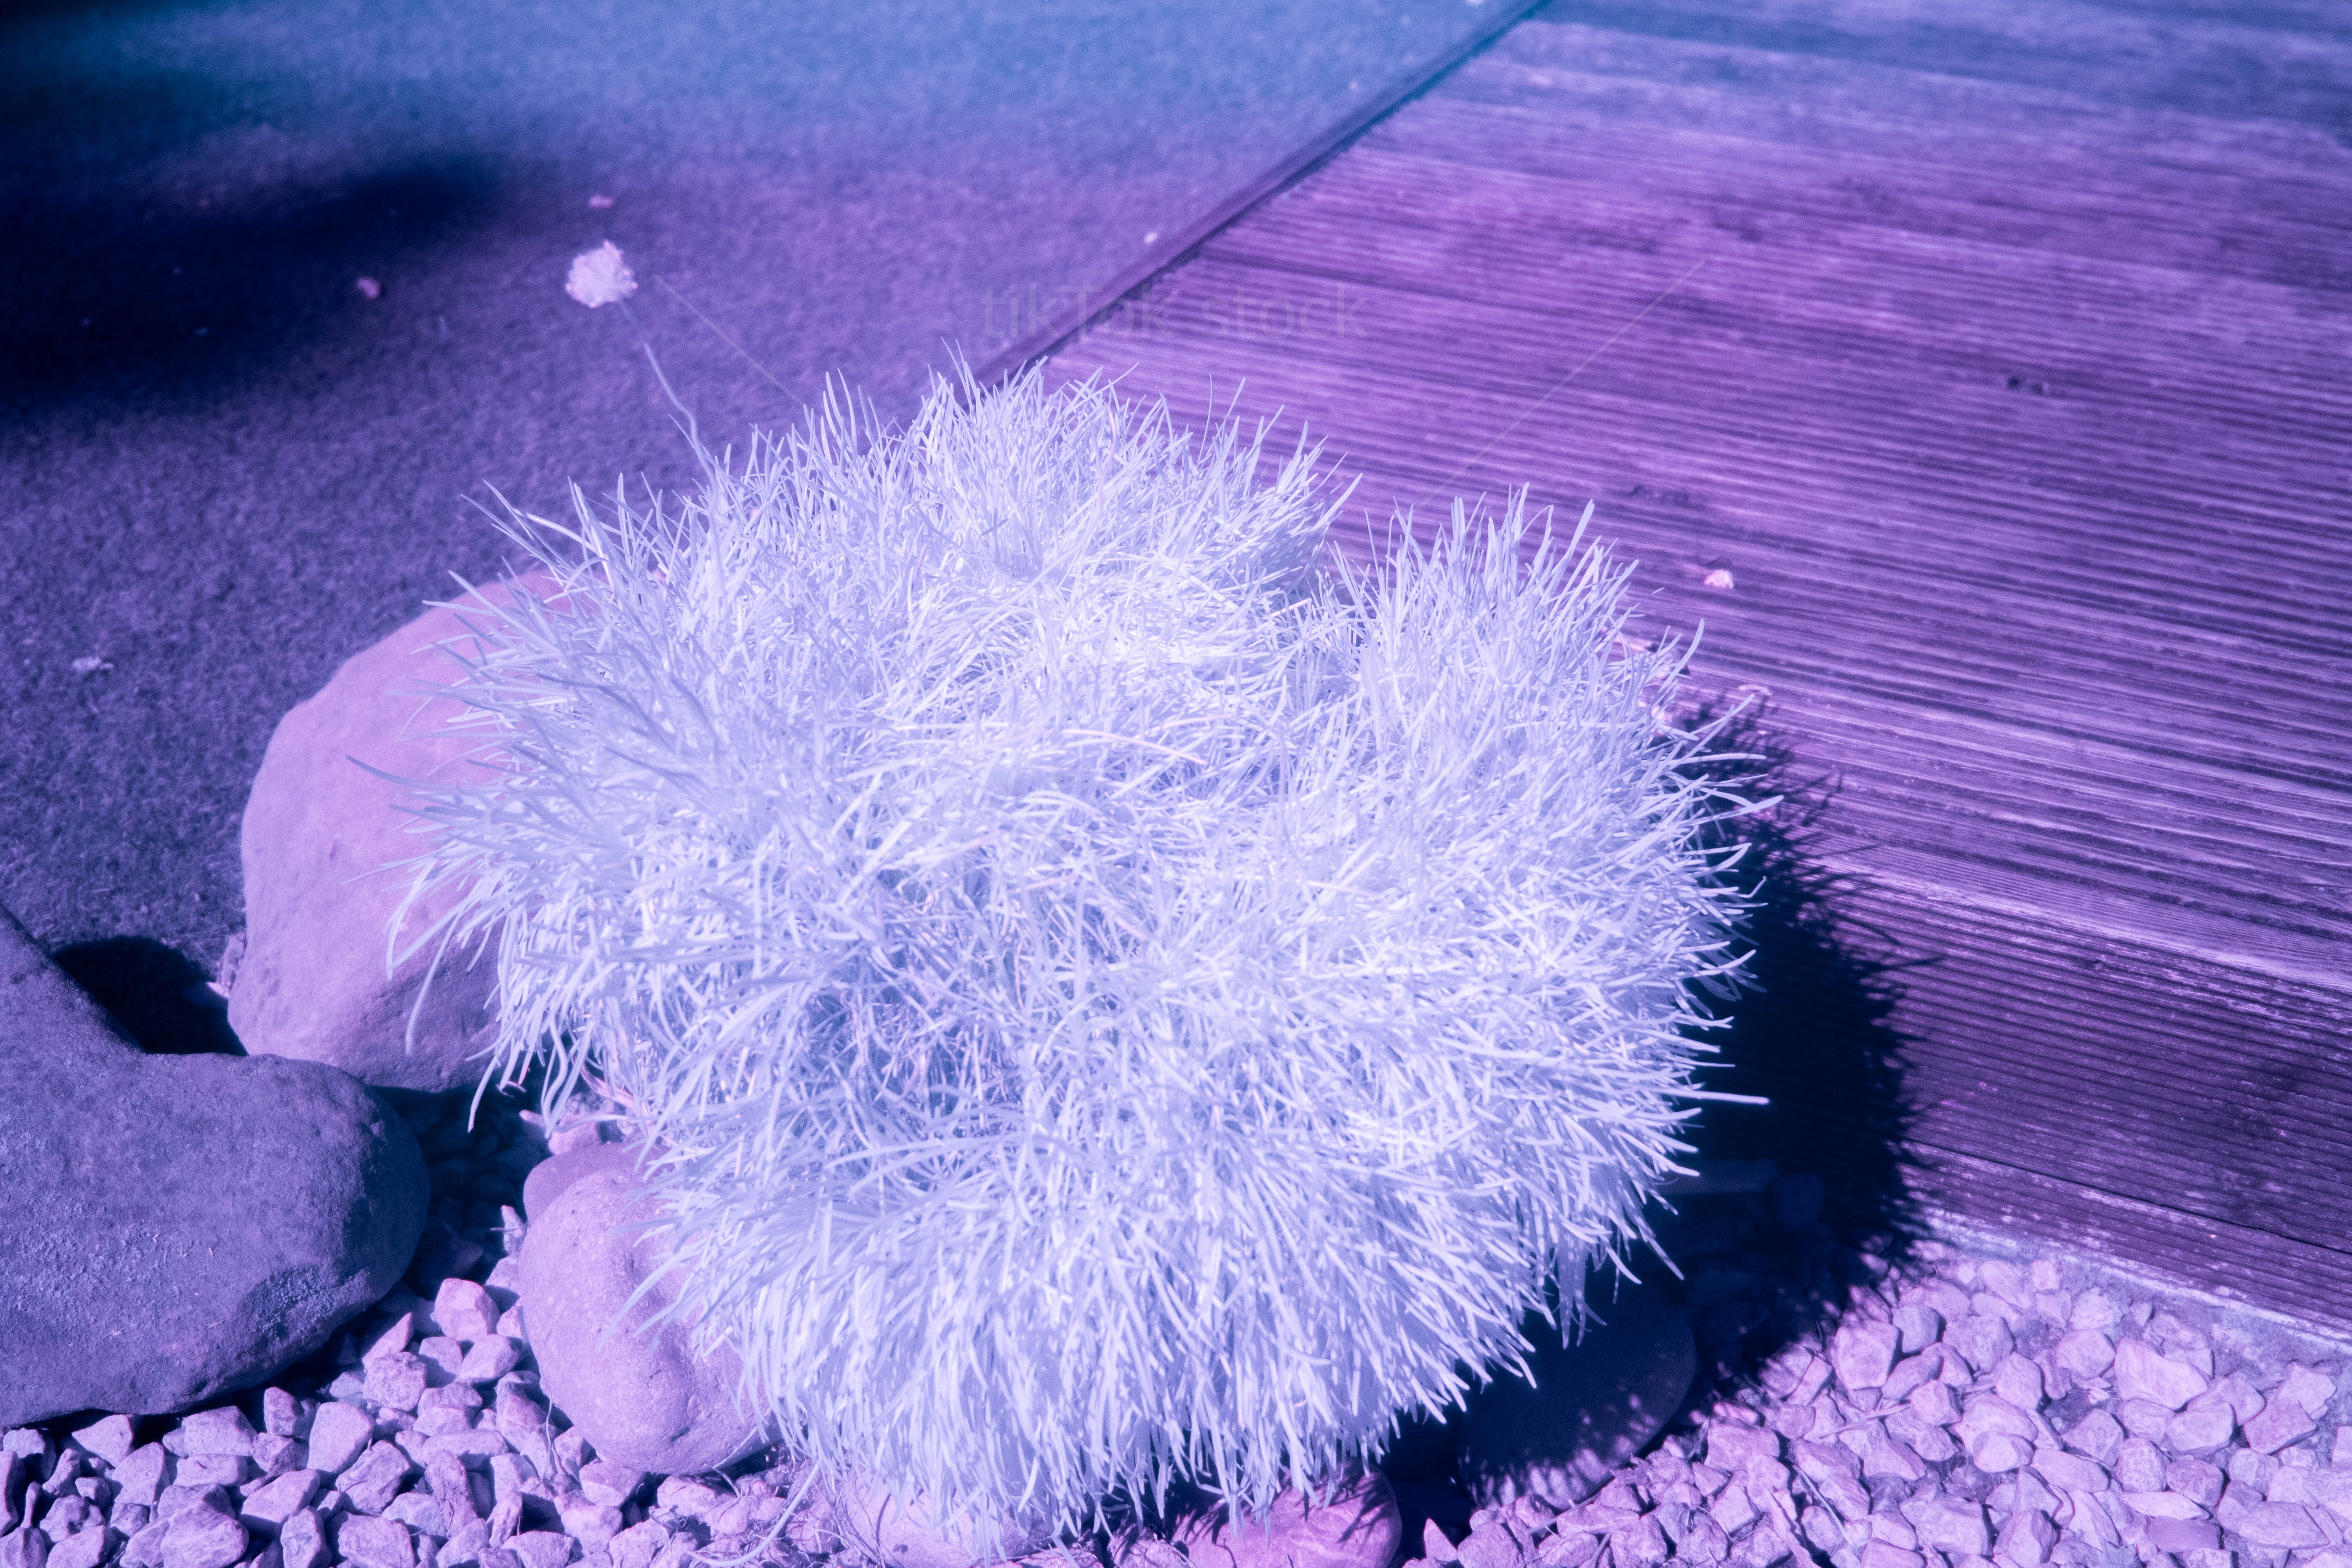
Infrared image of green plant - Large image 11Mb

Infrared image of green plant Resized image 400Kb
Now although both images look the same size on the screen, the first one is massive compared to the second one, also note there is very little, if any at all, loss of image quality between them?
Now you might be wondering, why do both images look the same size and why is one so large in size compared to the other?
Well there are a few reasons for this, firstly, our screen size on our monitor. First image is 6000 X 4000px, this is overkill for an image size because our monitors are just not that large, even if we were using this first image as a full width hero shot, it is still far to big (hence the file size of 11Mb). Our secound image, although only 400Kb in size, is still more than adequate for today's monitors. At a size of 1200 X 800px, you can still use this as a full width hero shot and wouldn't notice any difference in image quality (to cover even the largest everyday montors, you could increase the size of second image to around 1900px wide, this would still be way within the acceptable size for a fast page load).
Other reason the two images look the same size, is down to your CSS stlyes for your blog/website, CSS styles are what determines the overall look, style and feel for your site and is a topic beyond the scope of this article but maybe we will do a separate article on CSS at a later date. For now let's just imagine your blog page has a width of 800px, if you upload an image with dimensions larger than this, say 1200px like our secound image above, your image would probably display correclty at 800px because your CSS styles would either cut the image at 800px or shrink the image down to 800px in order to display it, this is NOT the same as either resizing or compressing. Your browser has still had to load the FULL size image, it is only your styles that show image as much smaller. So if you used our first image, at a whooping 11Mb, although your blog would fit this into the 800px width, your browser has still had to upload the 11Mb file size, make sense?
Here is another example, on this one the two images are placed side by side, again although both images look the same size to our eyes, it is only CSS styles that make it look like this, both images are placed inside a 'div' element with a maximum width set to 200px. The image on the left is over 4Mb in size and 6000 X 4000px, which is massive for the browser to keep loading each time you visit this page, the image next to it has been resized to 200px (same as the 'div' container) and it's file size is 12.8Kb (remember there are 1000Kb to 1Mb), this is a huge reduction in file size!

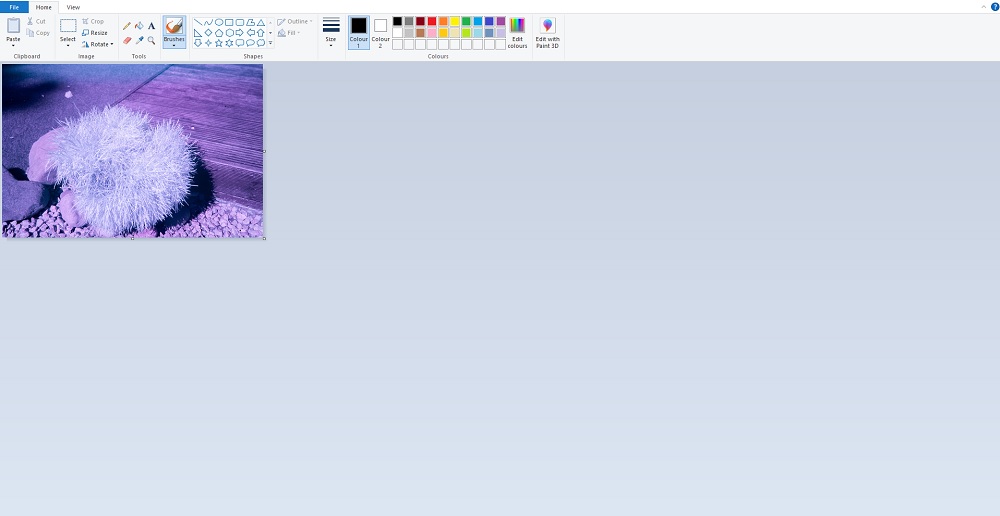
Although there are various programs available to accomplish resizing images, some paid, some free, the examples so far have been carried out using 'Paint', a simple free program that comes included with windows (for mac users the equivalent program is called PaintBrush), so this is the first one we will use.
To make sure you have paint installed, type 'paint' into your windows search (bottom left of screen) and you should see this symbol...  now all you have to to is locate the image you want to resize, left click once, then right click, from the dropdown menu that has just opened, select 'Open with Paint'
Once you have your image opened in Paint, resizing is really very simple and quick. Select 'Resize' option which sits on top left of page, once dropdown is displayed change option from 'Percentage' to 'Pixels', this will now give you the current size of your image, note: make sure the 'Maintain aspect ratio' option is ticked, this will scall down your image without distorting oe strectching, very important!
Now simply type in the width OR hieght you want the image to be and 'Paint' will adjust either the height or width (depending on which one you picked) to suit your new dimentions, tada! all done.

Now select file -> save as -> JPEG Picture and save to your computer, this allows you to keep your original image unaltered just in case you need the big file later.
Image above is a whooping 6000 X 4000px in dimension, here is the same image resized to 500px wide (height will adjust to suit without distorting so we don't add both)...
As you can see, the image has suffered no distortion during the resize and has now went from 11Mb to 59.1Kb in size, remembering there are 1000Kb in ONE Mb, so this is a massive reduction in size with absolutely no quality lost on the image.
In this example, this was all that's needed, a simple resize in paint and now your image is good to go!
Now, let's assume you don't want to add an image within your blog, but rather have a main hero image that runs the entire with of your page, like a header image in the example below...

Here we have the 'Stock Images - Portfolio' page from our very own website, as you can see the main header image is full width of the page, now doing this will make the image file size much larger than placing the image within the blog, so how do we handle this, keeping the file size managable for search engines?
Firstly we try the exact same method as before - resize the image in paint. To prevent the image from stretching, an acceptable size (in pixels) would be around 1900px in width, this would comfortably fit the majority of screen sizes out there. So, using the same method as our previous example and resizing from main image size of 6000px in width to 1900px gives us a new file size from 2.75Mb to 1.11Mb, now as a one-off you could get away with this file size, but if you have several pages, each containing full width images, this could seriously imapct your page load speed - not good!
So what do we do now, we have resized the image but file size is still on the large side?
We could resize again to a smaller size in pixels, this in turn would reduce the overall file size, but, this could impact on how the image looks on larger screens, the resized image would need to stretch to fit, again, not good!
The answer here is called 'Image Compression', how the algorithms work for image compression is beyond the scope of this article, but simply put, image compression will lower the overall file size without degrading the image quality beyond
an acceptable threshold.
First I will show you the resized image (1.11Mb) and then the same image after it has been compressed, then I will cover step-by-step how we achieved this.

Main Image resized (1.11Mb)
Main Image compressed (634Kb)
As you can see, despite the file size almost half the resized image, there is no loss to image quality at all, now we can quite happily use this image in our blog knowing our page load speed will not be affected!
So how did we accomplish this, well, for the actual compression side of things we use a
free online image compression tool. There are loads and loads of them out there, some free, some paid, but we have found this one to be one of the best out there!
The one we use is called
Optimizilla and is completely free to use with no watermarked images etc. to worry about (a lot of online tools will watermark your image until you buy or rent their software).
Optimizilla is very easy to use, simply drag and drop your image you want compressed, use the sliders to either compress more (smaller file size), or less (larger file size), you also get a side-by-side comparison between your actual image and the compressed one so you can clearly see if there is any image quality loss or not.
The screenshoot below shows you just how simple and easy it is to use, this is where you upload your image and set your compression levels, once you do this, click on 'Apply' then on the 'Download All' button (this will have a small number next to it indicating how many images you have chosen to upload which is very handy when compressing images by the batch load, Optimizilla allows you to batch compress 20 images at the one time..

To check out Optimizilla please
CLICK HERE! (opens in new browser window)
Now there are a lot of other programs and software out there to deal with image resizing and compression like Photoshop, Lightroom etc. These are more aimed at intermediate to professional photographers and require a monthly subscription to use, all the options described in this blog are more for people just starting out in their blogging/website career and are looking for inexpensive alterantives.
All the images shown here are from our very own stock image section, we also have a fantastic free stock image section where you can download watermark free images to use in your next projects, all you need is to sign up for an account, free of charge requiring only your name and email. Please follow the links below...
STOCK IMAGE SECTIONFREE STOCK IMAGE SECTIONCREATE ACCOUNT